So, I recently discovered that Autodesk offer a free license for Fusion 360 for hobbyists/startups. Since I'd also been watching a lot of prop-making videos on youtube, the way forward was clear - model & print an old design for a steampunk raygun
 |
| Old Sketch |
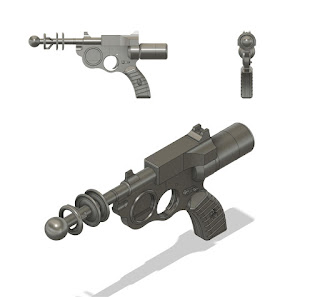 |
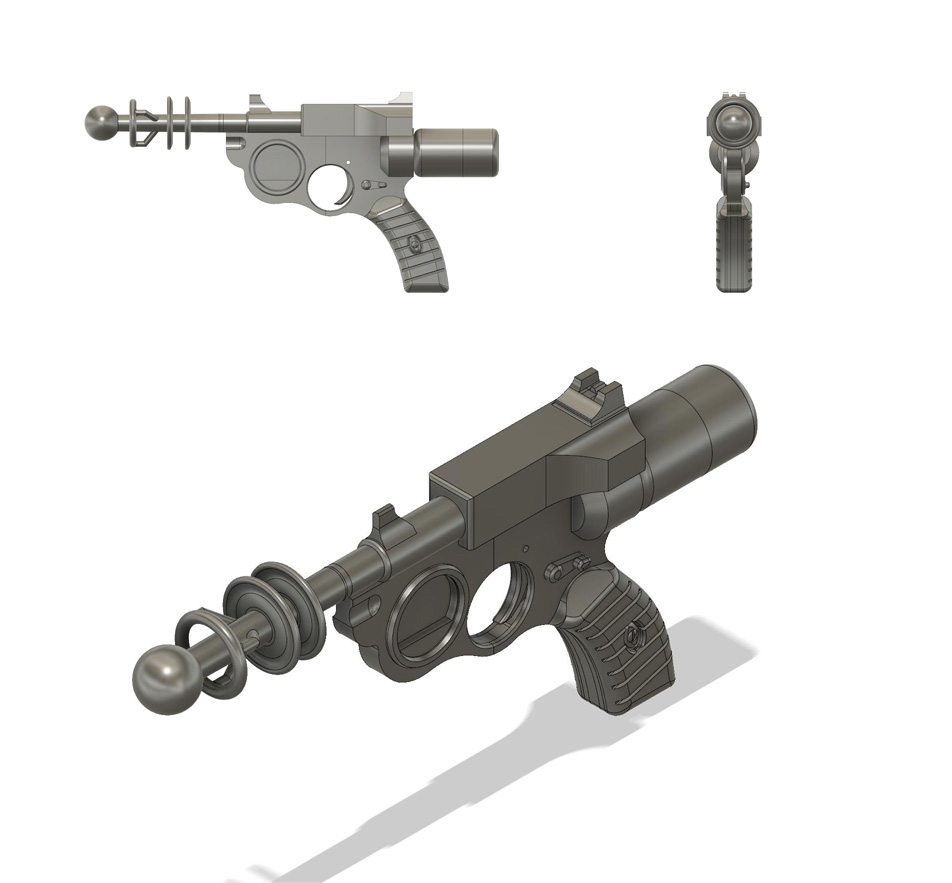
| Fusion 360 model |
The model was sized using a couple of measurements from a nerf gun, but mostly it was just eyeballed. So, the first step was to print out the handgrip/trigger section to make sure it fit in my hand (it did)
To fit it on the printer, the model was broken up into several large parts, and numerous smaller details.
Once the main parts were printed out, I stuck them together with blutac to get an idea of the general outline (several parts hadn't been fully modelled at this point, including the handgrips)
 |
| Every part printed out, sanded, filled, and then sanded some more |
Most of the model was printed in PLA on an FDM printer, but a couple of parts (due to complicated shape, or small details) were printed on an SLA printer. To get rid of the layer lines, the FDM parts were repeatedly sprayed with filler primer and then sanded, until a smooth finish was achieved.
Once the model was assembled, it was painted using an airbrush and a mixture of acrylic & lacquer paints, including a couple of buffable metalizer paints.
The final stage was weathering, which included printing a couple of paper details - they were stuck on with spray mount.
As printed, the power cell at the back was removable using a twist-lock mechanism, but the tolerances were too tight for paint, even after a lot of sanding, so the power cell now remains attached.
Final beauty shots