Monday, 13 August 2018

Experimenting with parametric modelling - 3D printing a steampunk raygun

So, I recently discovered that Autodesk offer a free license for Fusion 360 for hobbyists/startups.  Since I'd also been watching a lot of prop-making videos on youtube, the way forward was clear - model & print an old design for a steampunk raygun

Old Sketch
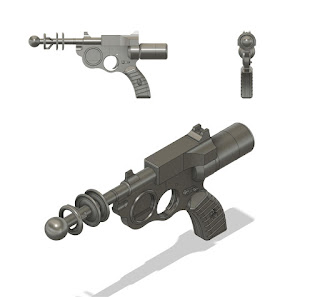
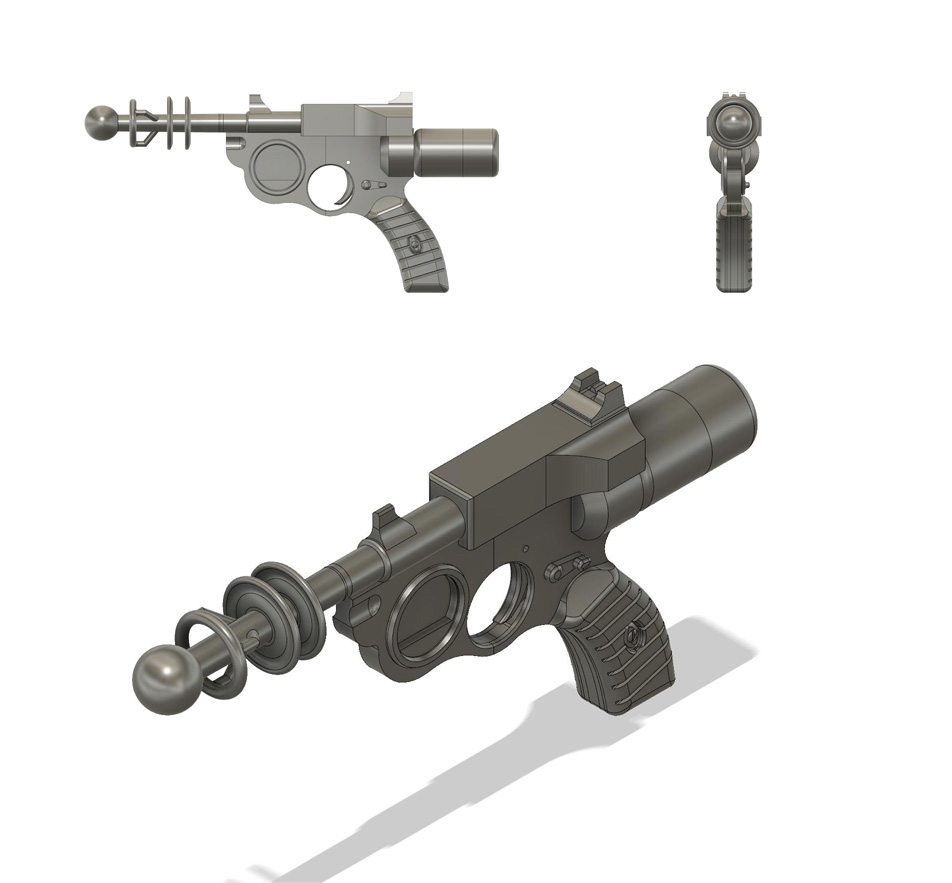
Fusion 360 model
The model was sized using a couple of measurements from a nerf gun, but mostly it was just eyeballed.  So, the first step was to print out the handgrip/trigger section to make sure it fit in my hand (it did)

To fit it on the printer, the model was broken up into several large parts, and numerous smaller details.
Once the main parts were printed out, I stuck them together with blutac to get an idea of the general outline (several parts hadn't been fully modelled at this point, including the handgrips)

Every part printed out, sanded, filled, and then sanded some more
Most of the model was printed in PLA on an FDM printer, but a couple of parts (due to complicated shape, or small details) were printed on an SLA printer.  To get rid of the layer lines, the FDM parts were repeatedly sprayed with filler primer and then sanded, until a smooth finish was achieved.

Once the model was assembled, it was painted using an airbrush and a mixture of acrylic & lacquer paints, including a couple of buffable metalizer paints.

The final stage was weathering, which included printing a couple of paper details - they were stuck on with spray mount.
As printed, the power cell at the back was removable using a twist-lock mechanism, but the tolerances were too tight for paint, even after a lot of sanding, so the power cell now remains attached.

Final beauty shots


Sunday, 1 July 2018

ZBrush Human Sculpting Practice - 2018/06/22


Unposed block out


Posed turntable


3D printout


As you can see, there was an... issue... with the print.  I didn't put enough supports on the free elbow (there were only 4) so it separated from the supports and got stuck to the build plate until it intersected with the rest of the print.
The solution involved printing a replacement arm, and then some careful work with a razor saw and emery board to match up the join.


Lessons Learned


  1. More supports during printing.  This was partly due to not realising that the model wasn't on the build plate in meshmixer (I had the built plate hidden) so automatic support generation didn't work.
  2. I'm using ZRemesher for too long.  ZRemesher is for producing the basic mesh, and then I should switch to subdividing to add more detail
  3. When posing, I should double check that a pose is possible for actual humans, not just my mannequin.  Trying to get your arm into that position is murder on your rotator cuff...

Friday, 15 June 2018

ZBrush hard surface practice - 2018/06/14


Doodling around in ZBrush while watching the pixelogic classroom videos on hard surface modelling and ended up with this vaguely Art Deco/Streamline Moderne robot

Monday, 11 June 2018

Transcription - Character bust

ZBrush practice, using a character design from a friend

Source

ZBrush model


 Turnaround showing the polygroups

 3D print


Printed size ~12cm tall.  Main sculpt printed using SLA printer at 50 micron layer height, Stand printed using FDM printer at 100 micron layer height.

Sunday, 15 April 2018

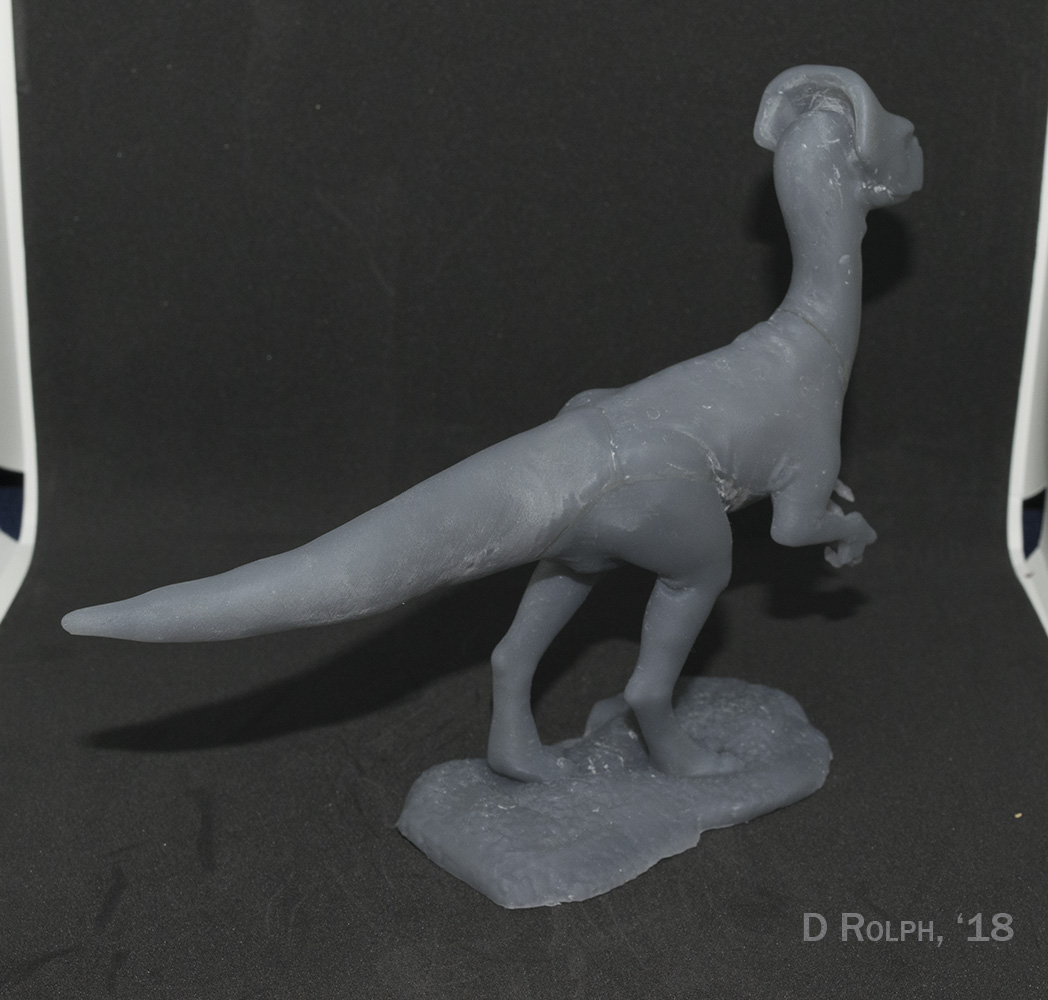
Creature design - digital to physical

Concept doodle  (I may have been watching a lot of paleontology videos on youtube...)
Since I'd just updated to ZBrush 2018, I thought I'd use this as a test piece.


(Sculptris Pro is an awesome feature)
Next step was to add a base (for stability) and slice the model up into 4 parts - base/legs, tail, torso, and neck/head.
After hollowing and adding supports, I printed that parts and assembled them.


I glued the parts together with superglue, then filled the gaps with photocuring resin. I also had to file some parts where they didn't quite line up properly.
With a Figure-Kun mannequin to show scale


Friday, 19 January 2018

Kitbashing - the SLA way

So, this Christmas I received a 1:76 scale Airfix Cromwell tank kit - and as I put it together, I was struck by the idea of converting it to something more... unique.

And so, off to Maya I went, with a vague idea of a theme (Cleft turret) and a set of calipers to take measurements from the kit.

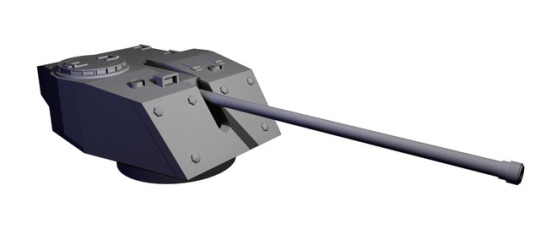
Basic block-out
Adding greebles & panel lines
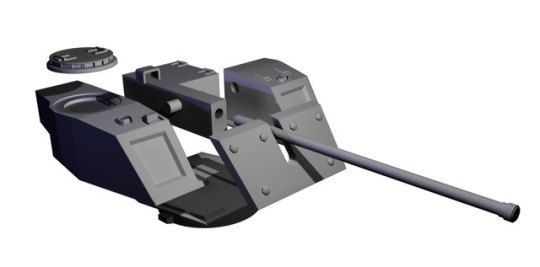
Sliced up into parts for printing
Once I had a working model, it was time to run it through the printer
(fuzzy) phone camera photo of version 1, fresh out of post-print cleanup


Assembly took some work with a file & pin drill (clearances were a bit TOO exact), and it turned out that some parts had to be filed away to let the turret rotate.  The separate cupola was also on the fiddly side.  And so, back to Maya to adjust a few things and off to the printer again.
version 2, before post-print cleanup

Version 2 was definitely an improvement, but the panel lines on the digital model weren't visible on the printed model.  After measuring the panel lines on the airfix kit, it was back to Maya for another round of tweaks.


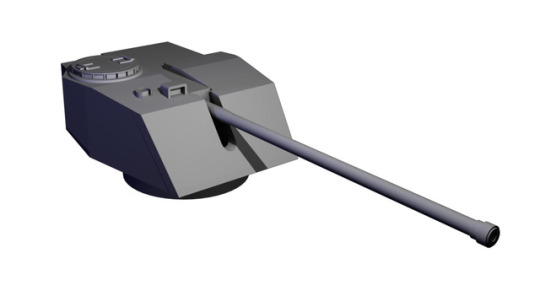
The turret is printed in such a way that the gun can pivot up and down


Next step - painting the whole model...

Monday, 23 November 2015